Showing posts with label Treat Treasures. Show all posts

Thursday, November 8, 2018

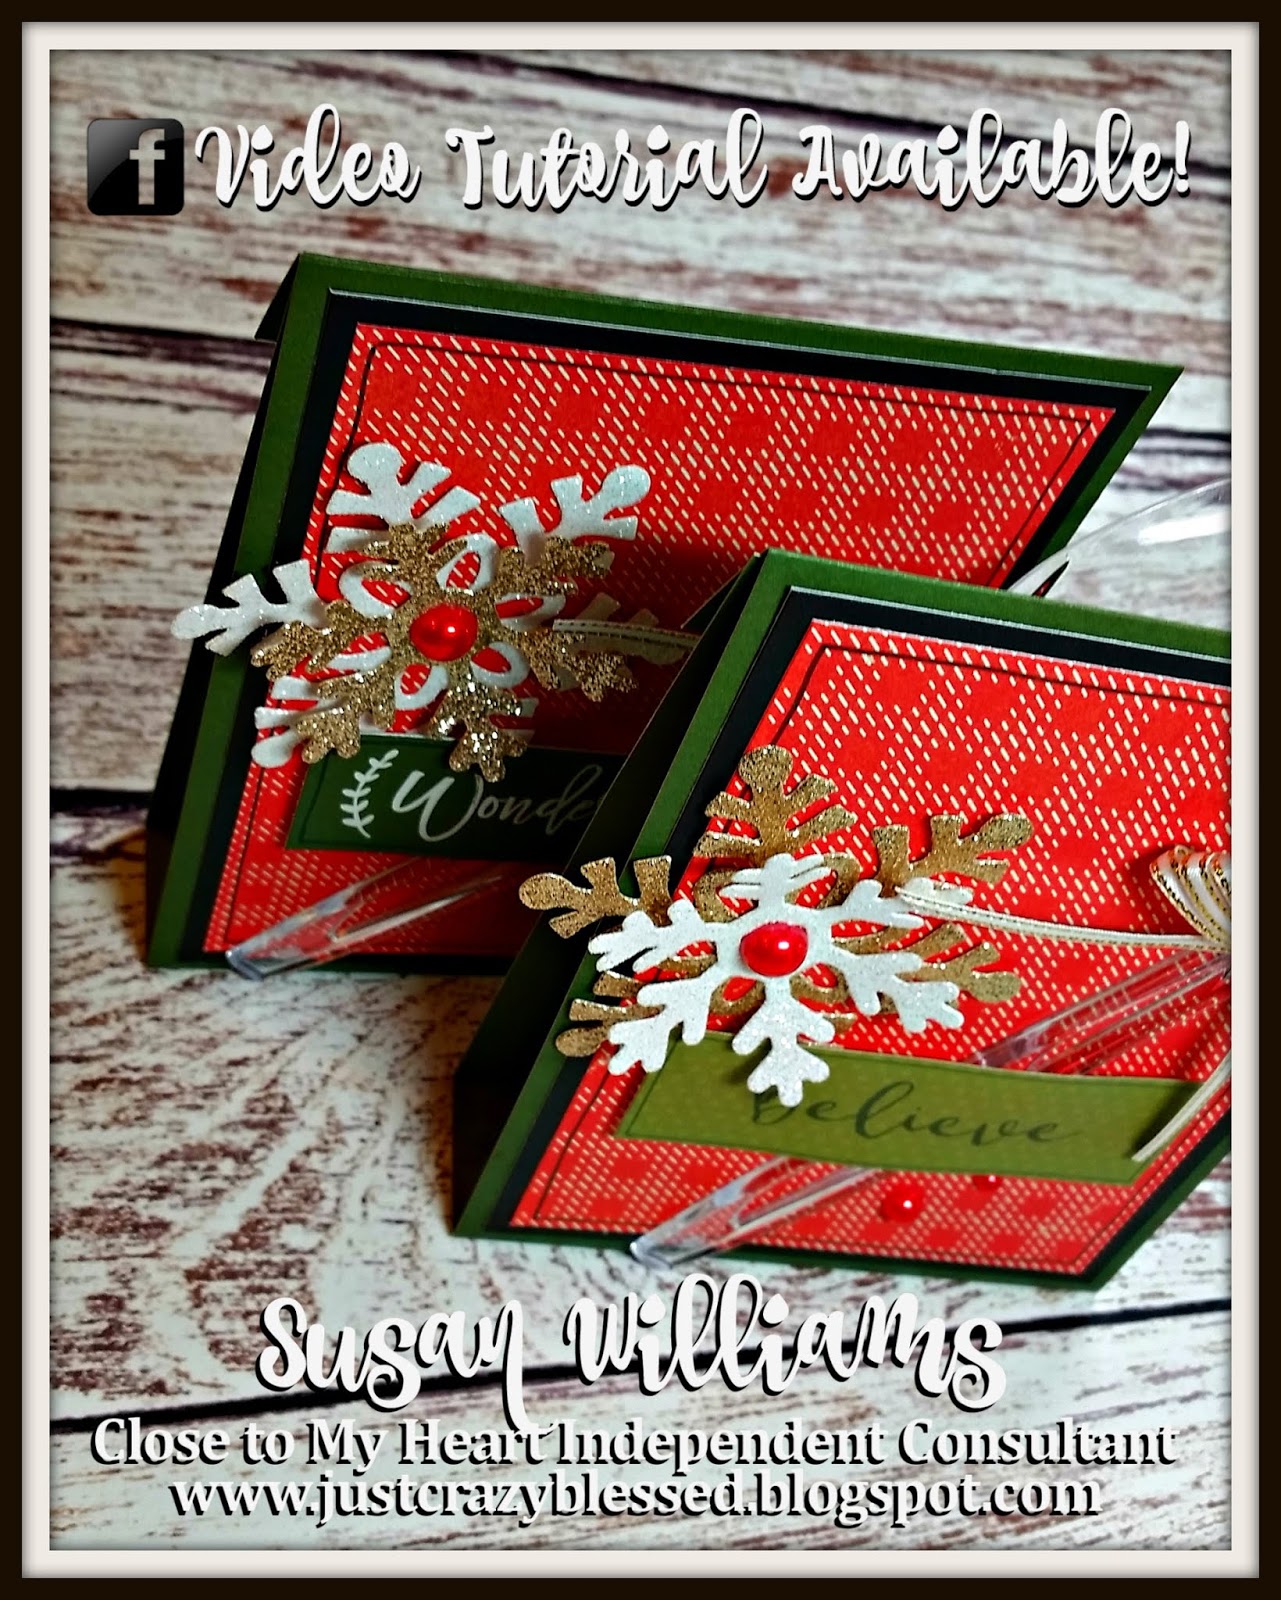
Easy Holiday Treat Gifties!

Lately I've been having TOO MUCH FUN creating Holiday Treat Gifties! I've also been streaming LIVE demonstrations almost daily for these projects over at my Business Facebook Page! (You are invited to subscribe!) 

I've listed the measurements for most projects to make re-creating them even easier! Here are a few of my favorites! :) 

Watch the Video for this fun Reindeer Pocket HERE! 


Watch the Video for this super easy Gift Card holder HERE!


Watch the Video for this Fun Paper Bag Pocket HERE! 


Watch the Video for the Hot Cocoa Packet HERE! 


Watch the Video for this fun Nugget Box (will also fit a gift card) HERE! 


Watch the Video for these fun Popcorn sleeves HERE! 


There so MANY MORE not listed here! Lots of tutorials and FUN FUN things over on my channel! You are invited to subscribe so you don't miss anything in the future! 

Please also feel welcome to PIN these to save them for later! :) 

Thank you for stopping by Friends! Blessings for a Joyous day! 

Friday, September 27, 2013

A Sweet Artiste Matchbox!

Okay, so you already know I'm TOTALLY on a SARITA kick right now! Of all the 3-D projects I've created the past few months this takes the CAKE!....errr....Nuggets! It takes the NUGGETS, not cake!! 
  

I Love the Hershey Nuggets! Well, I actually don't love to EAT them, but I REALLY love to create with them! it's my buds who love to EAT THEM! :) Did you know that they are the easiest thing to 'pretty up'?! Yeah! Just a 1" X 3" piece of (scrap) piece of paper (or cardstock) and a bit of adhesive is all it takes!  Here is another project & Tutorial I did not long ago using the Hershey Nuggets! Unfortunately the kit is sold out but you can still enjoy the artwork and tutorial! :)

Alright...getting down to business! Have you ever created the Matchbox cut from the CTMH Cricut Artiste Collection? 


It is the most darling little box ever! and SO EASY! My favorite size to cut is at 4.25"....why, you ask? First of all, my thriftiness always kicks in...it's the perfect size to get (2) to a page of Cardstock! That's right...at that size you can cut (2) Box cuts on 1 piece and (2) 'Slide wrap' Cuts on 1 piece.  (I have no idea what the technical terms are for those, that's 'Studio Sus' language) So...getting (2) full boxes from (2) different patterned (if desired) sheets of cardstock is always a great thing, and second, this size is PERFECT for (9) Hershey Nuggets!! Did I mention I love them? Okay..moving on! 


I mean, really...how cute is that?! Don't tell me you wouldn't love to come to work and see this pretty little package sitting on your desk?! :) 

So, I cut my box from Outdoor Denim Cardstock and wanted a coordinating B&T Cardstock for my 'Wrap'....I love the Aztec-ish Damask (yes, that is really how I refer to it) Bright print from the Sarita MyReflections kit! 

Now, I did sit and ponder for a bit what to do with the top....luckily...some GENIUS at Close to My Heart thought it would be a fantastic idea to create MATCHING TEXTILES! 

Um...YES, Please! I created a Darling Rosette type cluster and adhered it to the top of my box! This technique is SO SUPER SIMPLE! In fact I have a tutorial on how to create it  included with my latest Sarita True-Fit Folio Workshop.....if you have not read my previous posts concerning this workshop CLICK HERE to see what I am offering for the small price of $20 plus shipping to you. :)  Can you tell my mind is wandering today? So...I created my cluster of fabric and adhered one of the Gems from the Teal Base & Bling Collection to the top! and OF COURSE you see again my very favorite embellishment CTMH offers....threads from my Burlap Ribbon!
I needed a sentiment and grabbed my stamp sets that are included with my Artiste Bundle (Yes, there are 3 stamp sets included as well as 3 packages of chipboard...all with coordinating cricut images!) 


My favorite stamp image from the Artiste Bundle is the 'Hope your Birthday's as Sweet as You'! Sweet....Chocolate...Who's Cleaver now? :) 

Okay, so maybe my matchbox it isn't as obnoxiously Wonderful as I let on but Hey, we're allowed to LOVE our own art, right?!  

I love the my Artiste Cartridge, I hope you love yours! Before I go I'll share a few older Matchboxes that I had loaded onto my computer. :) 

Here is one from Christmas Last year....:) 


And here's another one from one of my January 2013 Workshops.....

Inspiration from Jody Gustafson

I actually cut a transparency for the slide on this one so you could see the stamped Nuggets inside! :)


Thank you for Joining me again today! It Just BLESSES MY SOCKS OFF when you show up!

Happy Friday Everyone! Sus


Monday, August 19, 2013

Love Me Some Laughing Lola!

It's true! I am Lovin' me some Laughing Lola....This paper is so "Me"! I Love bright colors and I LOVE pairing them with Black, I think it makes them stand out all the more! 

As You already know I have just recently finished the biggest artistic undertaking I've ever done! It was a Blast, a tiresome, wonderfully challanging blast and I'm finally done....of all the projects I created THIS one is my very favorite! HANDS DOWN! :) 

Here is my Lola French Fry Box! I'm not really sure where she came from, it was not cased or inspired by anyone (maybe THAT'S why I Love her so much....she is a 'Sus Original') 


I used my trusty Cricut Art Philosophy Cartridge for the 'heavy lifting'...it doesn't  matter how many wonderful cartridges Close to My Heart introduces I will ALWAYS have a need for my lovable Art Philosophy! He doesn't leave my machine! I have more than one Cricut machine and you will always find him safely housed inside one of them! :) 

I wanted my box pretty good sized so I hit my 'fit to page' button and cut it as large as was possible.  The Slate Satin Ribbon still ranks near the top of my FAV EMBELLISHMENT list and I think it added 'just enough' to my project! 


It also worked great for my bag ribbon....Can you tell there is a small package of Close to my Heart Jewels inside the box? I also trimmed 1/8" strips of my scrap cardstock and crumpled them up for a delightful confetti filing! 

My baggie topper also housed a couple Art Philosophy Flowers as well as a piece from the Laughing Lola Assortment Collection (LOVE!).  


Now, one of my FAVORITE things on the entire project is this DARLING little 'Happy Birthday' Stamp set! 


Girls! These little beauties are only $2.95! WHAAAT!? Yes! $2.95 each! We have (8) of the adorable little stamp sets now and I have every one of them! Did you miss them when you were browsing the New Autumn/Winter Idea Book? Turn to page 113 to have a look now! :) 


So, of course you already know I love the price tag too! Can we say THRIFTY? :) You will see many of these images pop up in my artwork over the next few months! 

Project Supply List:

Girls, I hope you enjoy my French Fry Box!  Here are a few more fun projects I did way back in 2011 when Art Philosophy was first introduced! :) 

Footloose French Fry Boxes with Wrapped Chocolate Nuggets

Superhero French Fry Boxes with Wrapped Chocolates

Typeset French Fry box with Thank you Note cards & Envelopes
Thank you so much for joining me again! 
You are a Blessing to me!! 

Thursday, August 15, 2013

Death by Chocolate!


I'm a little late to the party (happens VERY Often!) as am JUST now getting a chance to play with the Adorable August Stamp of the Month! 


Last night I spent some time in my studio and this is what I came up with! Mind you...you'll have to enjoy some twisted humor to appreciate it! :)


I think it turned out SUPER CUTE! How Fun would these be to give your Girlfriends? Or to give out During the Halloween Season?! They came together SO QUICK and Easily that I decided to create a few kits! 


Since This Month you can get your Hands on the August Stamp of the Month for FREE with a $50 order I'm sweetening the Deal! Anyone placing an order of $50 or more on my Website throughout the Month of August will receive a couple of these kits - shipped right to your door - as my THANK YOU for your order! 

To be fair...because I'm a fair kind of girl, All of my Fabulous Ladies who have ALREADY placed qualifying orders on my Website this month will ALSO receive one as well! So, you wonderful girls know who you are....be on the lookout in your mailbox next week! :) 

You still have plenty of time get your hands on your very own set! 


Thank you Lovelies for joining me again today! 
Blessings, Sus 


Friday, May 31, 2013

Hershey Nugget Bag Tutorial


Yesterday I showed you another one of my "Treat Treasures", this Hershey Nugget Baggie with Topper! 


Today I'd like to show you how I created it! Remember, I have these ready in to ship in small kits of (2) for only $5.00!(shipping is included in the $5 price!)  Please see yesterdays post for information on how to purchase yours! :)

The Whisper Cardstock base piece measures 2.5" X 9" 


Your base will serve as the Nugget "Tray" so you will need to score 0.5" from each side lengthwise as well as 0.5" from the bottom edge. 


Using a Bone Folder, give the score lines a good crisp fold. 


 Make 0.5" cuts on both pencil marks as shown. 


 Place strong adhesive on the sections marked with the "X"


 The "flaps" with adhesive will adhere to the backside of the larger middle "flap" creating a box-like edge.


Now flip to the opposite end and trim off the top corners of your tray, as shown.


Next, moving to your nuggets...this template size will easily hold (8) Hershey Chocolate Nuggets.  Cover the backsides of each of the 1" X 3" strips with adhesive and adhere them to your Nuggets.


I did run a few strips of adhesive down the inside of my Tray just to keep them a little more secure.  This step is completely optional as they are fairly snug when inside the bags. 


Slide them into your bag...it's a great little fit, isn't it? (I love this stuff, LOL)


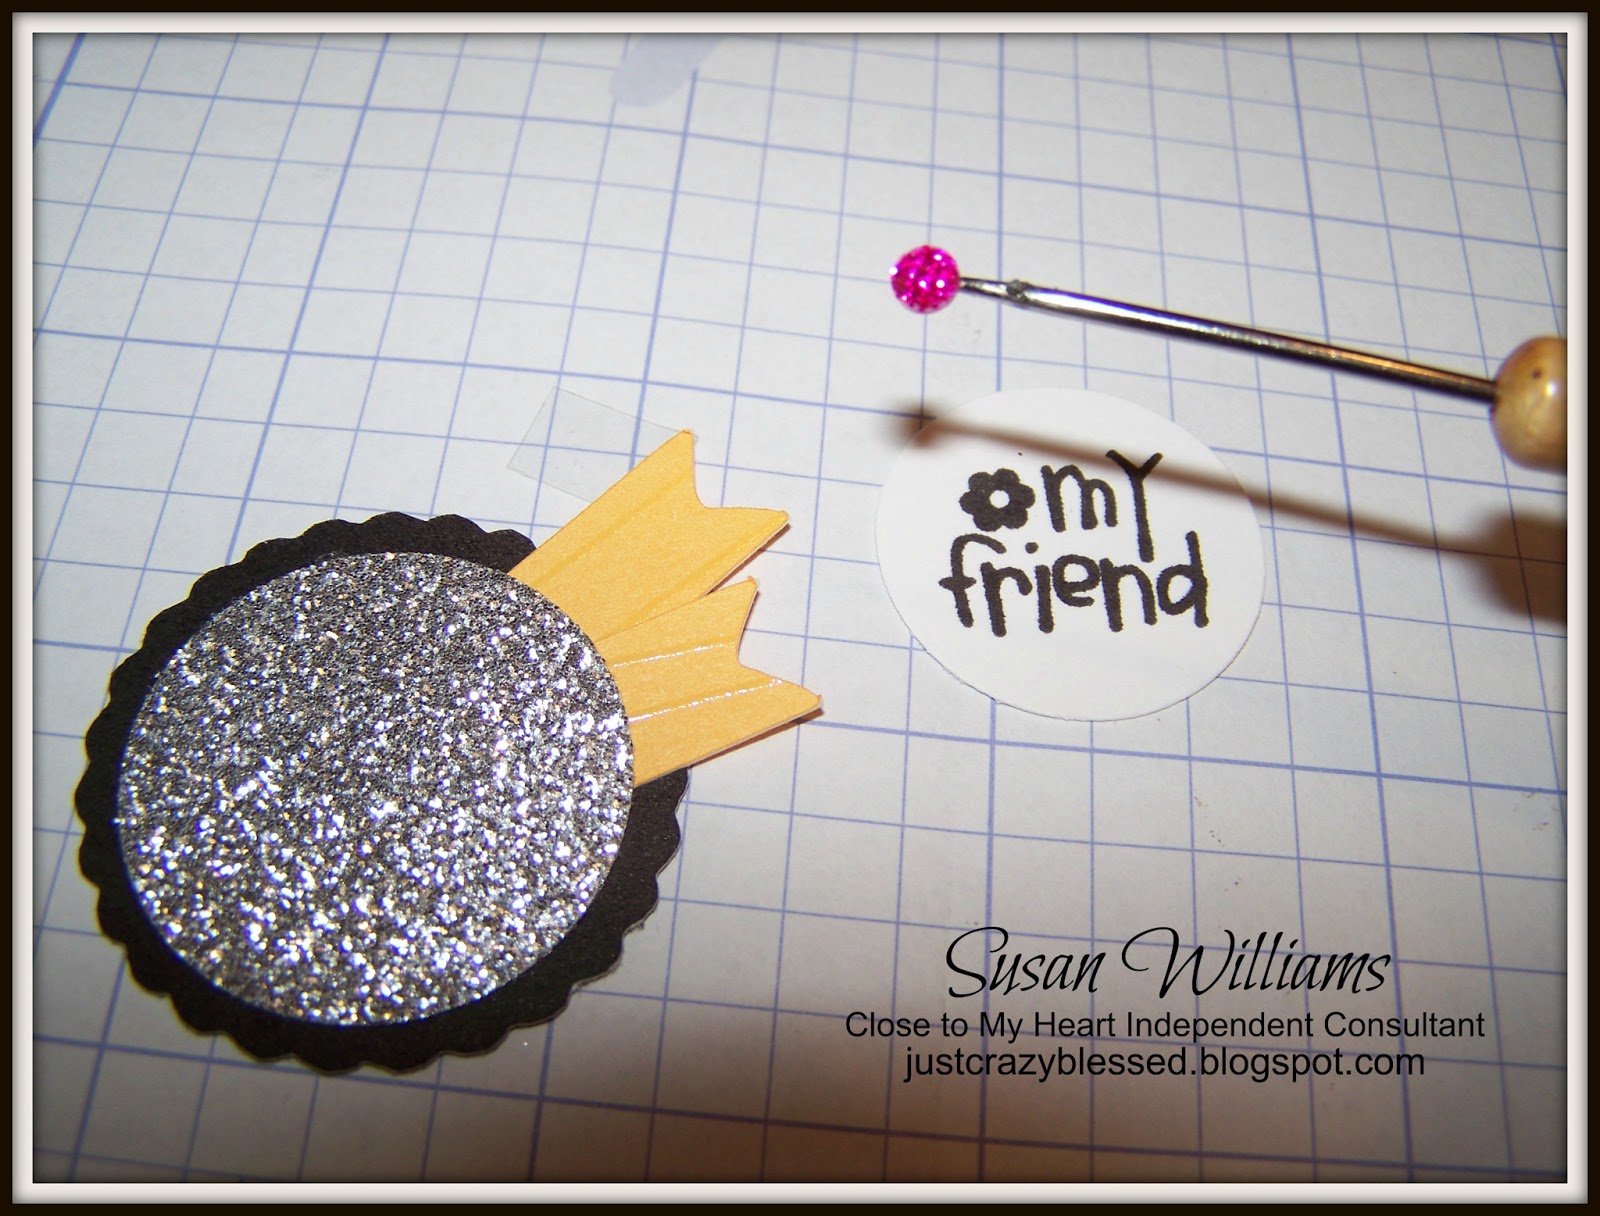
Okay, next let's put together the Medallion! Fan-fold your pre-scored medallion strip as shown.  


Place adhesive on both ends of the strip and secure them  together, Also cover the smallest grey circle (you have 3 included per kit) with adhesive.


Adhere your fan-folded medallion onto your circle (I'm showing you the upside down view) and press firmly.


Your dry adhesive will not be enough to hold your medallion in place, turn it over and fill the middle space with Liquid Glass.  


Place another of the Grey circles onto the top while it dries.  I also placed a couple of Acrylic blocks on top to ensure a good flat hold while the liquid glass was drying.  


Begin building the piece to go on the front of your medallion as shown.


 Adhere your assembled piece to the front of your Medallion.


Next, fold your Black label in half, using a bone folder for a good crisp fold. 


Staple your Label onto the top of your baggie tray.  Apply good strong adhesive onto the top of the stapled area. 


Adhere your medallion to the front of your baggie, covering the staples. 


 Turn it over and Apply Adhesive onto the largest Grey circle provided and adhere on top of the stapled area.


 Stinkin' Cute isn't it!? :) 


Remember, you can purchase pre-cut/pre-stamped Kits shipped right to your door for only 2/$5. You can complete your purchase at the bottom of THIS Blog post from yesterday. :)

*There are a few circles missing from the picture below as I didn't realize they were laying on my floor instead of in my photo. :)


Thank you so much for Joining me!! How fun is this!!?? I would have never thought I'd enjoy Blogging...now if only my REAL JOB didn't get in the way of my FUN JOB, right!? :) :) 

Blessings, Sus